I wrote this post which details creating an Oracle 19c Database docker image.
Following on from this post I will detail the steps required to patch and Oracle 19c Docker image. With most of my technology-related posts, they are written because I will require this information in the future so a blog post provides reference for my future self.
Running an Oracle 19c database in docker you are not able to patch the database in a traditional sense, you cannot hop into the container and patch it with opatch you need to create a “patched” image, thankfully Oracle on their GitHub (here) provide some shell scripts to make this task easier.
Note – You will need to have a My Oracle Support login and valid support agreement to download Oracle Database patches if you don’t have one of these your not going to get very far. Further, if you have chosen to use a “slim” Oracle database docker image you will likely run into problems, during the “sliming” down process folders are removed from the docker image that means when it comes to patching opatch will throw an error since some folders and directories don’t exist.
Clone the Oracle Docker images to your local machine with git (if you don’t already have them)
git clone https://github.com/oracle/docker-images.git
In this example, we will be patching a single instance 19c database. Head down into the SingleInstance folder then samples and applypatch.
cd ~/docker-images/OracleDatabase/SingleInstance/19.3.0/samples/applypatch
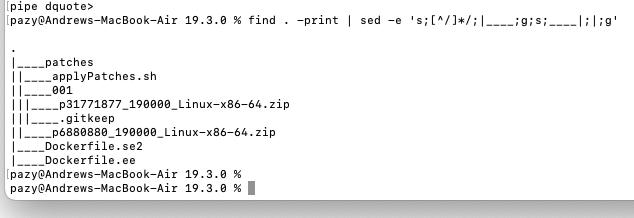
The scripts used in this example rely on the following directory structure:
19.3.0.0
   patches
      001 (patch directory)
         pNNNNNN_RRRRRR.zip  (patch zip file)
      002 (optional)
      00N (optional, Nth patch directory)
      p6880880*.zip (optional, OPatch zip file)
patches: The working directory for patch installation.
001: The directory containing the patch zip file.
00N: The second, third, … directory containing the second, third, … patch zip file. This is useful if you want to install multiple patches at once. The script will go into each of these directories in the numbered order and apply the patches.
Important: It is up to the user to guarantee the patch order, if any.
Below is a working example where p31771877 is the latest 19c Critical Patch Update at the time of writing (Oct 2020) and p6880880 is the latest version of OPatch.

With the patches in place, we can now run buildPatchedDockerImage.sh to create the “new” patched docker image
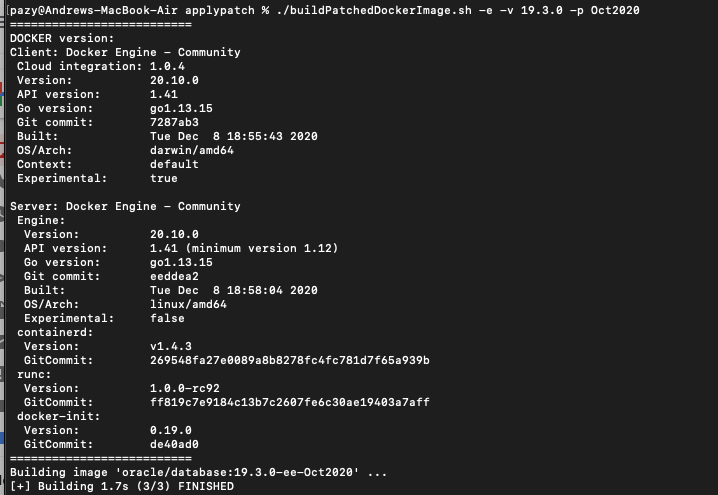
./buildPatchedDockerImage.sh -e -v 19.3.0 -p Oct2020

It will take some time to patch the Oracle database with the patches as rebuild the docker image so go make yourself a coffee and come back in 25-30min. Once you return all going well you should be able to start your new patched docker image with the following command:
docker run --name "oracle19.9" -p 1521:1521 -p 5500:5500 -e ORACLE_PDB=orapdb1 -e ORACLE_PWD=topsecretpass -e ORACLE_MEM=3000 -v /opt/oracle/oradata -d oracle/database:19.3.0-ee-Oct2020
You can now login to your docker image using the below commands;
docker exec -it oracle19.9 /bin/bash
ps -ef |grep pmon
. oraenv
sqlplus / as sysdba
If you have any questions about running Oracle Database in Docker, the process of doing or are having any problems please get in touch and I can help.